Saturday, January 26, 2013

Nerf War Party


This year Mr K decided on a Nerf war party for his 9th birthday. I was a little hesitant to plan it because I was unsure of how parents would react, but I did it anyway because what boy wouldn't love a nerf war party? I had lots of things planned that I wanted to do and then I ran out of time and money so I kept it simple and guess what the boys still had a great time. 

Here is his invitation I made using photoshop. I was so excited that I made the darts all by myself. I know it wasn't very hard, but it is the fact that I did it, instead of using clip art. 

 I was able to use my ward building for the party which turned out better because you need a lot of room for boys and nerf guns. This was the Tin can knock down. I planned on spray painting the cans orange and  I totally forgot my signs dang it. They each took turns seeing who could knock down the most cans.

 This was our target practice. I taped targets to the boxes and let the practice shooting.

 This was our "Moving targets" each boy had to shoot three balloons.

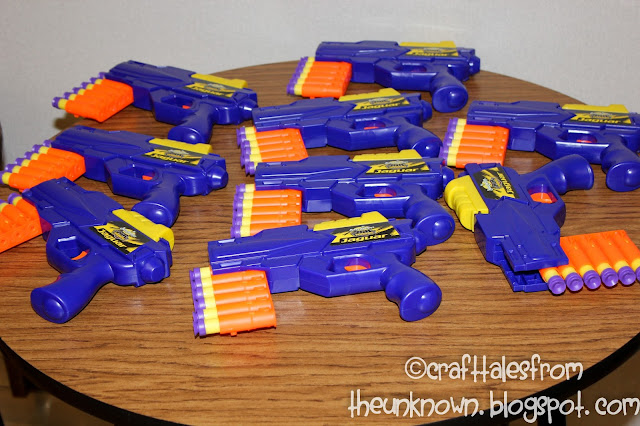
 Each boy was given a dart gun and 6 darts, that they got to take home as the party favor.

You can't have a Nerf war without safety glasses, so each boy was given a pair of glasses.


After we did the 3 stations we divided the boys into two teams and they had a battle.

 each team used boxes from our target practice as extra shelter


 Daxton using the box as a shield to walk up and shoot one of the boys.

After their battle, we had them do a relay starting from point A they had to crawl under the table shoot the target (taped to a box) run to the next stop shoot a balloon (moving targets) then knock down at least one can, run back and tag their next team mate.


 Cake
 This was his "smash cake" but since we were at the Church we decided that he could not smash his face into it. I know I know mean parents. I apparently forgot to take pictures of the cupcakes. We used icing to make targets on each cupcake.
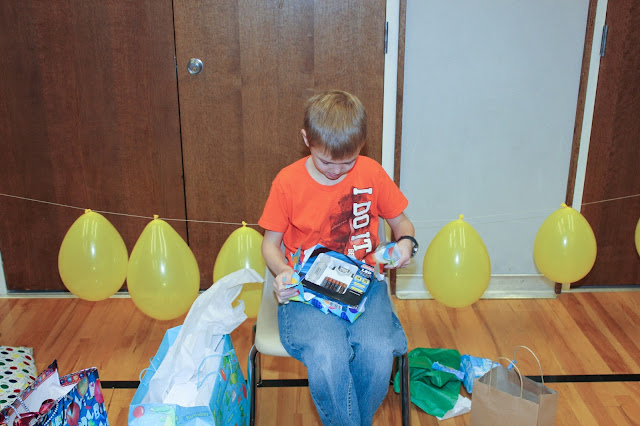
 Present time


 The group.
 I told them not to shoot me while I was taking a picture...notice how most of them are loading their guns

And shooting at me.

They had so much fun and the best part is, is that I did not have to do all of the "entertaining"

Friday, January 25, 2013

Bobcat Trail Lapbook

****UPDATE as of April 2013- I have moved all my Cub Scout stuff to my blog strictly for Cub Scouts check it out HERE


If you aren't familiar with lapbook lessons, they are used a lot in homeschooling. It is a great hands on method of teaching your child about anything.

 I found the idea for a bobcat lapbook HERE. I loved the idea of it, but there were no printables to go along with it, so I decided to create my own,after 6 plus hours of working on them, I finally had them done.

If you need to know how to fold a lapbook HERE is a quick tutorial, or you can google for more resources.

I printed them out and then started cutting out my "mini books" from construction paper. I thought I kept the measurements for all of them, but I can't find them so I am guessing I threw them out like I do everything in my house. 

Here is the front of the book
inside. This is how I laid mine out because I didn't want them in order.
Motto- this is just a piece of paper folded in half. Put the number 6 square on the front.
Inside put the picture of the motto inside
Cub scout handshake- I used a matchbook style book for this one. (basically a folded flap book like above with a bit extra added and stapled, staple before gluing to the folder)
Inside place the meaning and picture of handshake inside
Law of the pack- make a pocket, I used the printable one from HERE, then put the law of the pack onto a  piece of construction paper that is a tad bigger and cut into strips to make into a puzzle, place the pieces inside your pocket.
here is what it looks like all cut apart.
Webelos meaning- use another pocket, place number 3 on front

inside mount meaning onto construction paper make sure you leave enough room to write pull at the top.
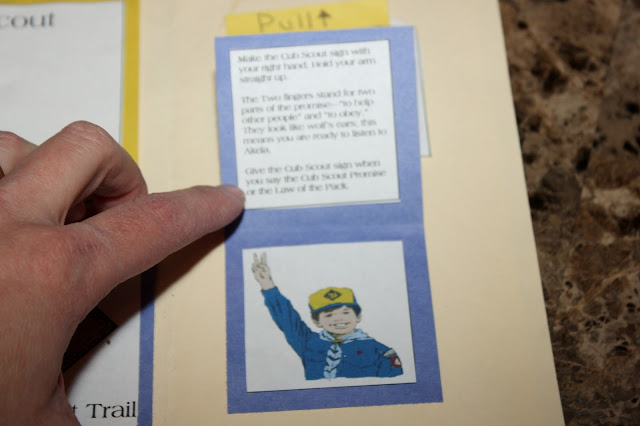
Cub scout Sign- this is a folded flap book place number 4 on front flap
Inside place meaning on top flap and picture of sign on bottom
Cub scout salute- make a folded flap book, but this time place the fold on the side.
inside place the picture of salute in front
and the meaning behind the picture. Staple all of them together before gluing to the folder (see picture 2 above)
In the middle top of the folder make a large folded flap book and place the cub scout promise(#1) on the front flap
Inside place the meaning on the top flap and the promise on the bottom.
in the middle section on the bottom left place the Character connection, on the left place the smaller bobcat trail square then under that write list examples here:. The boys can list examples as you talk about  the character connection (under commit)

If you have any questions or would like the printables feel free to leave me a comment or email me.

Monday, January 21, 2013

Craft Day


My mom and my niece came over for a craft day today. We were going to sew but I thought it would be more fun to do a wood project since I just finished working on a few projects 
  I bought this snowman last year from Wood Connection and had it all painted, just not glued together, well I decided it needed a fresh coat of paint since it sat around getting scratched and dusty. So I painted it again and glued it all together. I just need to finish his piece for his hat, maybe I can get that done next year.
 For Christmas my Mother-in-law gave each family a stand and hanger with the blocks that said jingle from Heartfelt Wall Hangings. So I decided that I couldn't leave it plain so I went and bought the Let it snow blocks and painted them up. I need to add some glitter.

I know a little late now that January is almost over, but it will be all done for next year.

Talk about a present that keeps me busy. I have to go get February's blocks in the next week or so.

Here is the project the girls and I did with my mom and niece today.
Valentine owls. These are from Wood Connection. From left to right: My nieces', Miss K's, mine,B's and My mom's

We had a lot of fun doing them and plan on having another craft day to work on something for St. Patrick's Day.


Friday, January 11, 2013

Headband bookmarks


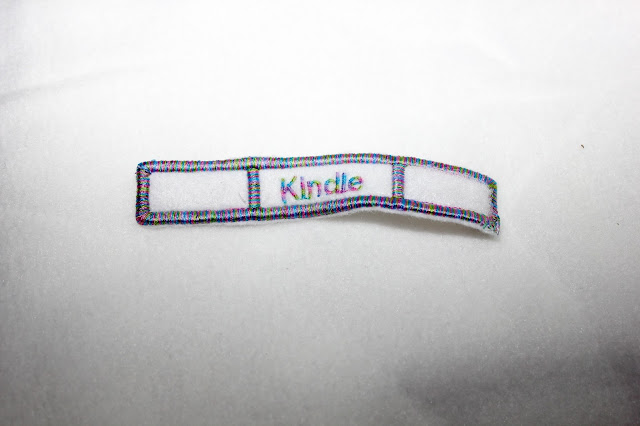
I went to embroidery club the other day and the lady that is in charge showed us the cutest idea. She made bookmarks using headbands. So right after club I stopped at the dollar store to look for headbands. The headbands I found were different than the ones she used but I bought them anyway. As soon as I got home, I went straight to my machine, ignored my kids, and started making headband bookmarks for the girls. 
This is B's. I asked her what colors she wanted even though she had no idea what it was for so these are the colors she chose.


This is K's, it is blurry because it was taken with my cell phone, I thought I took one with my camera but I guess I didn't.

Saturday, January 5, 2013

Cord Wraps

Our day for embroidery club day changed from the fourth Saturday of the month to the first Saturday of the month, so today was club.
 For my show n' tell, I made these cord wraps, they are all made in the hoop, which if you don't know, means that they are made from start to finish on the machine, I don't have any extra sewing, it even sews the velcro in for me.


I can see many uses for these handy little things and will definitely be making more in the near future.